
This blog post was originally published in 2016. You can also read recent insights on how to use web-to-app banners on mobile.
If you’re reading this post, you probably already know how important your mobile website is for driving app installs. (If not, you can get caught up on the biggest source of app installs that no one talks about.) Organic search drives more app installs through mobile websites than all of Facebook’s paid install product. Needless to say, it’s a channel that you should focus on optimizing.
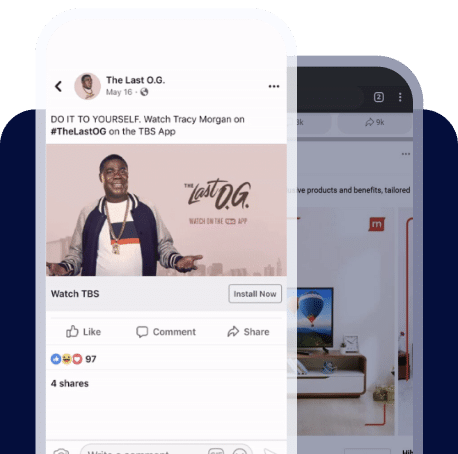
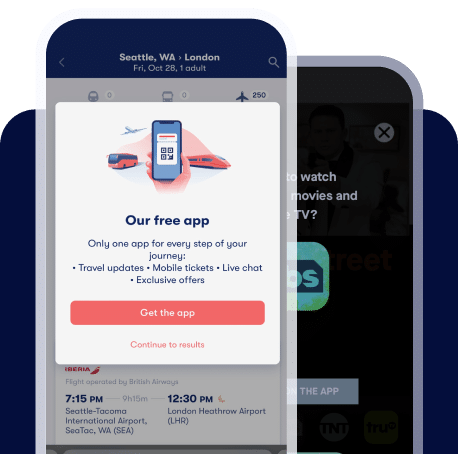
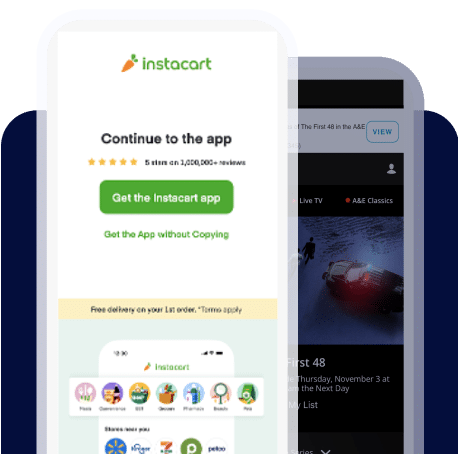
One of the more controversial mobile tactics is the full page takeover screen, often referred to as an ‘interstitial’ because it stands between a user and the mobile web version of the content. The purpose of the interstitial is simple: to drive as many people to your native app as possible. Far and away, it is the most effective technique to drive pure volume of installs. As it should, every single person who visits your site is presented with the call-to-action to install the app. If your goal is total installs, this is the choice for you.
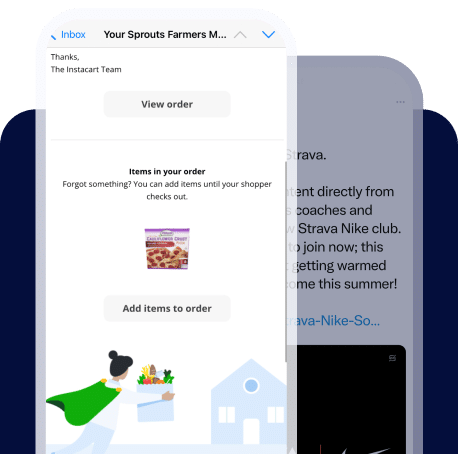
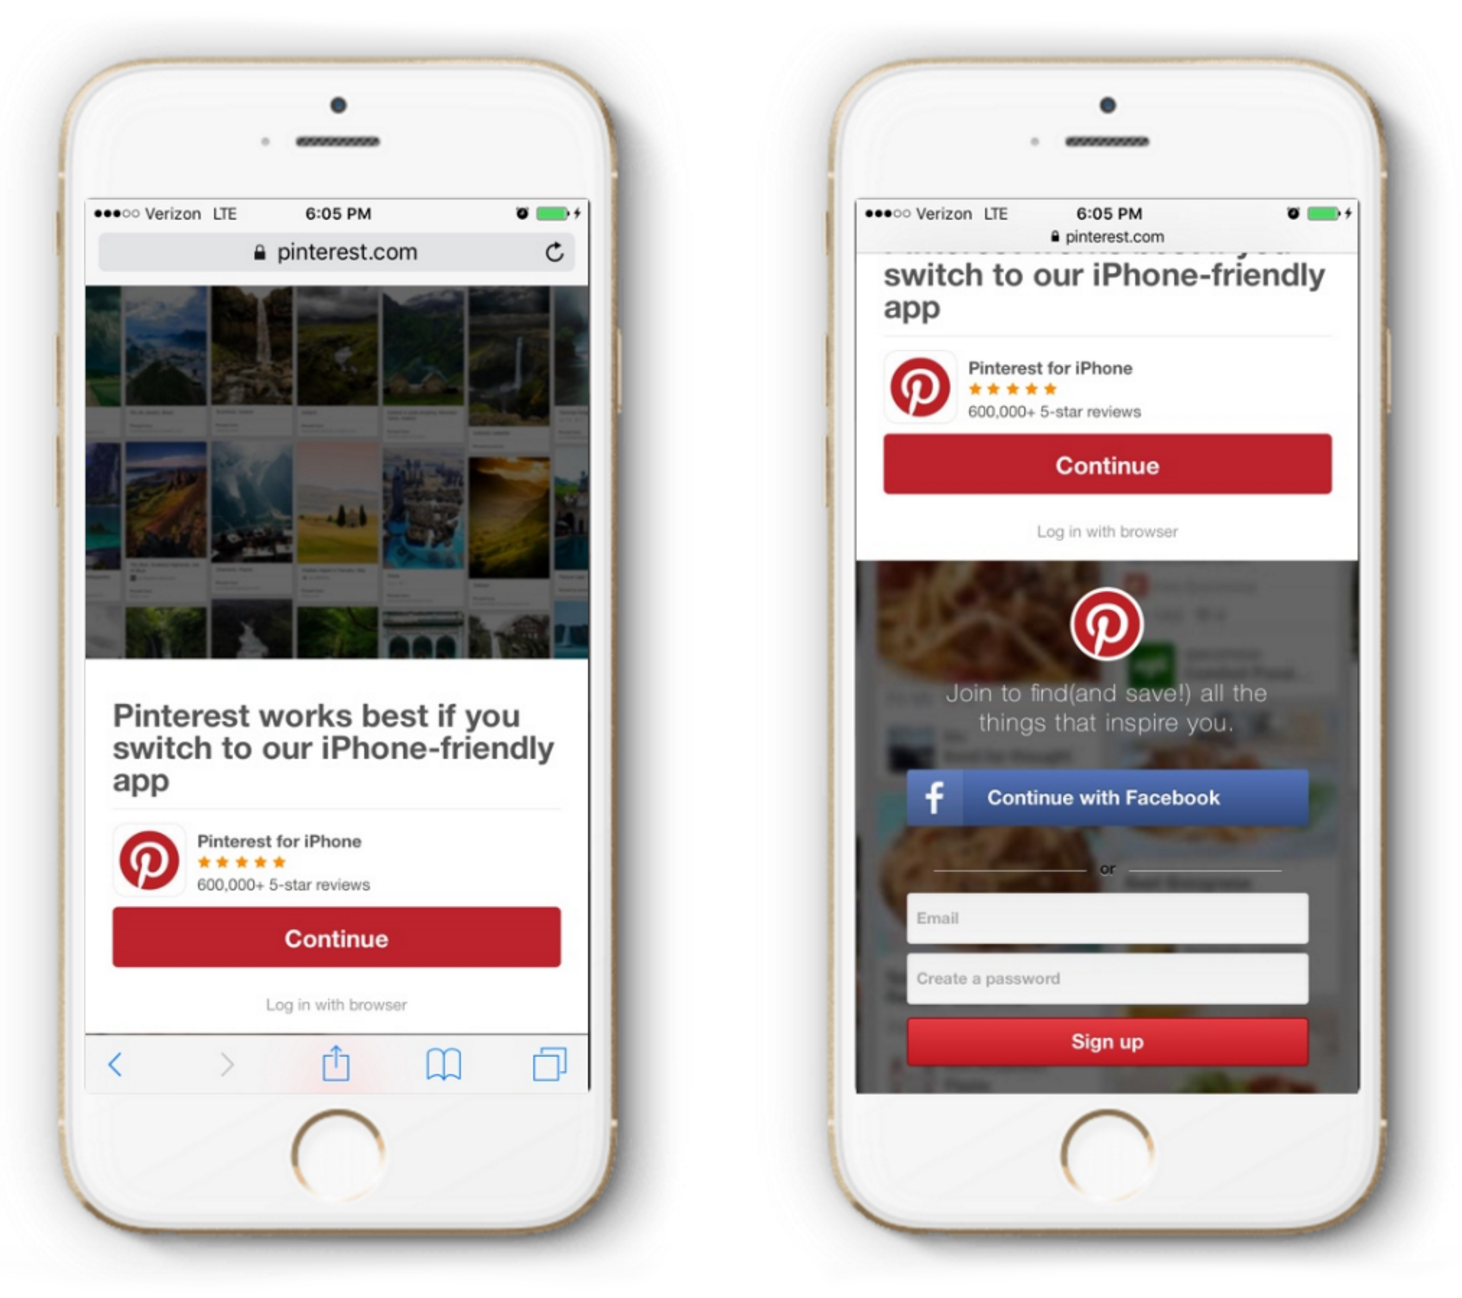
There are many reasons to do this. You might decide that your business is more valuable if everyone is engaged with the native app rather than visiting your site in passing. For example, Pinterest made this decision and currently presents everyone with the following view on mobile web:
Steps to Build a Web Interstitial
The interstitial below is complex, but offers a set of functionality to set you up for success. There are a few different properties of this interstitial:
-
- It’s SEO friendly so that you won’t get penalized by Google despite their attempts to root out these types of experiences.
-
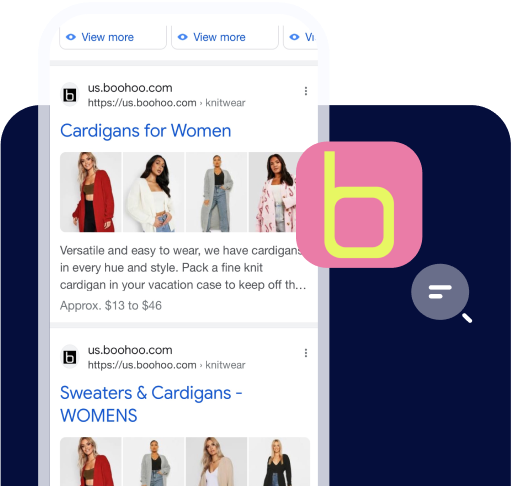
- Users who visit the site and have the app already installed will automatically be taken to it in some browsers that support this functionality.
-
- The interstitial will deep link to the appropriate page installed and allow you to deep link a new user if not installed.
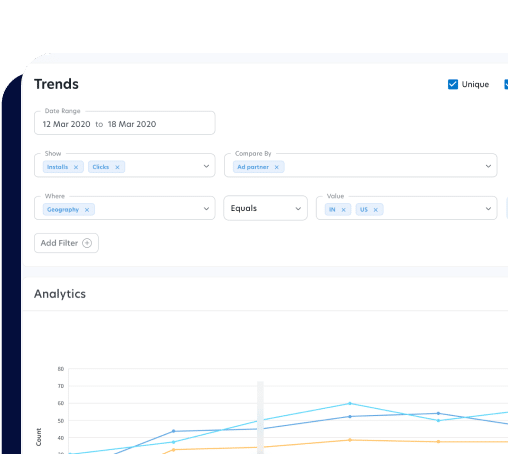
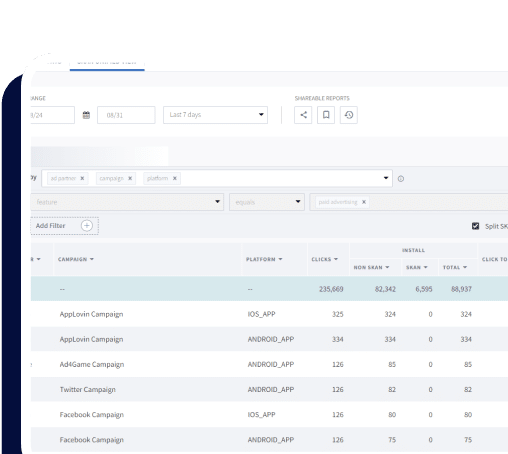
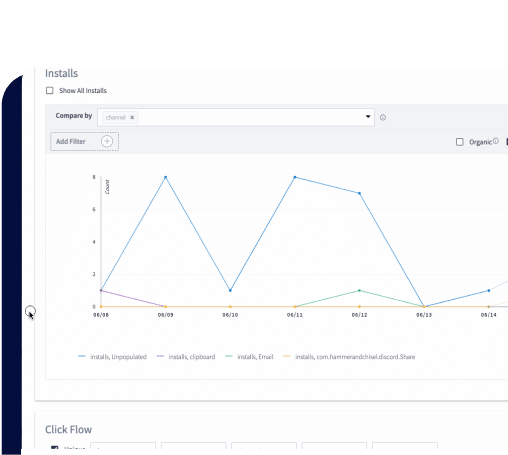
- You will be able to monitor view to click to install or open conversions if you want to test out copy or other variables.
Note: you can now codelessly build, deploy, test, and analyze SEO friendly interstitials as part of our new Journeys product! Try it now to skip the steps below and add personalization and custom targeting to your web interstitials.
1. Design and Build an SEO-Friendly Interstitial
This part will largely be done on your own since you’ll want to tailor it to your brand, but there are a few important characteristics to keep in mind while you design the experience.
First off, the interstitial must be baked into the site and cannot be hovering. This is a pretty strict requirement from Google to ensure your rankings aren’t punished. In line with this, you must have some of the content of the page sitting below in the interstitial. As long as the above are true, you can take up the entire screen with your app download CTA.
Here’s an example snippet for a generic interstitial that can get you started if you don’t want to work from scratch. You’ll need to add the javascript handling of the close and continue buttons if you want.
2. Install the Branch Web SDK
To initialize the Branch web SDK on your site, drop this script into the <head> tags at the top of your site.
<script type="text/javascript">
// load the Branch SDK file
(function(b,r,a,n,c,h,_,s,d,k){if(!b[n]||!b[n]._q){for(;s<_.length;)c(h,_[s++]);d=r.createElement(a);d.async=1;d.src="https://cdn.branch.io/branch-latest.min.js";k=r.getElementsByTagName(a)[0];k.parentNode.insertBefore(d,k);b[n]=h}})(window,document,"script","branch",function(b,r){b[r]=function(){b._q.push([r,arguments])}},{_q:[],_v:1},"addListener applyCode banner closeBanner creditHistory credits data deepview deepviewCta first getCode init link logout redeem referrals removeListener sendSMS setIdentity track validateCode".split(" "), 0);
branch.init('YOUR-BRANCH-KEY');
// define the deepview structure
branch.deepview(
    {
      'channel': 'web',
      'feature': 'interstitial',
      data : {
        '$deeplink_path': 'page/1234',
        'user_profile': '7890',
        'page_id': '1234',
        'custom_data': 1234
      }
    },
    {
      'open_app': true  // If true, Branch attempts to open your app immediately when the page loads. If false, users will need to press a button. Defaults to true
    }
);
</script>
If you’re not already set up, you can acquire a Branch key over at the Branch dashboard.
You’ll notice the function call to deepview()below in it. The structure of this call, with optional parameters, can be found in this documentation, but I’ll give a quick explanation here.
The first dictionary defines the property of the link and accompanies deep link data. We’ve labeled the link with a channel = web and the feature = interstitial. All analytics on the dashboard will appear under these labels.
The second dictionary defines the options for the call to deepview. The only relevant one is the open_app parameter, which we’ve defined to true. This tells the web SDK to attempt to open up the app automatically if it’s installed.
3. Use deepviewCta() for Your Interstitial Click
When you call the above code on page load, Branch automatically populates a handy redirection Javascript function that you can use. This function will automatically redirect to the app if it’s installed or fallback safely to the App or Play Store.
<a id='interstitial-button' onclick='branch.deepviewCta()'>Get our app!</a>
You can call this function anywhere you decide to do the click handling for your interstitial. Branch will handle the rest.
4. Configure Deep Linking in Your App
Lastly, you’ve hooked up your website with all accompanying Javascript. Now it’s time to make sure your app properly handles the user’s link clicks. I’ll give an example in iOS just for simplicity, but the exact same thing can be accomplished in Android if you follow the instructions on the Branch dev portal.
On iOS, you’ll first need to drop in the Branch framework. You can find those corresponding instructions on this page. Make sure to enable Universal Links so that your interstitial takes advantage of them.
Once you’ve added the appropriate files, open up your AppDelegate.m and scroll to didFinishLaunchingWithOptions. Note that this snippet should replace any other initSession calls present in this section, but please add the following:
ExampleDeepLinkingController *controller = [[UIStoryboard storyboardWithName:@"Main" bundle:[NSBundle mainBundle]] instantiateViewControllerWithIdentifier:@"DeepLinkingController"];

[branch registerDeepLinkController:controller forKey:@"page_id"];
[branch initSessionWithLaunchOptions:launchOptions automaticallyDisplayDeepLinkController:YES];
In place of ExampleDeepLinkingController, you should insert the name of your class that you want to redirect to when a link is clicked. You can receive the corresponding deep link data in the destination class from the Branch singleton using the getLatestReferringParams.
Also, note that I insertedpage_idwhich matches a parameter I passed in the above deepview() call. Functionally, the Branch SDK will only open up the destination view controllerExampleDeepLinkingController if page_idis accessible in the deep link data. All other cases, it will just follow your existing view controller flow.
There you have it! That’s everything you need to start converting your web users into mobile app users. And by using Branch, you can continue to optimize this experience to drive the highest conversion rate.