


You might have noticed that Google has been rolling out new app surfacing and sharing mechanisms over the last few months. One of the biggest new offerings is the Android App Actions enhancement, Slices. (A clever play on pie, for those paying attention.)
The good news: Android Slices has a lot to offer teams who want to elevate their apps in an interactive, engaging way on Android. The drawback: Attribution isn’t built in to this experience.
Let’s take a look at what Android Slices are, how to build them, and how to deep link and accurately attribute them.
A Closer Look at Android App Actions
Through Android App Actions, your app can be recommended through Google’s catalog of common app interests, abilities, and content. If you register your app to handle one or more user intents, Google and Android will surface it to users through the Google Search App and the Google Assistant.
Android Slices: A Quick Overview
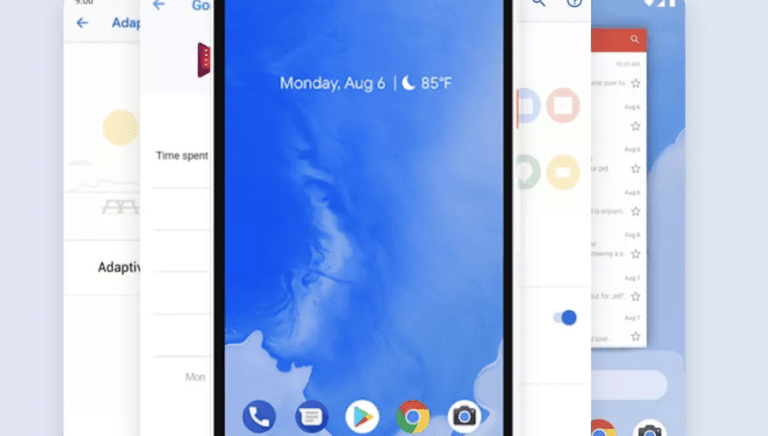
Android Slices are one way you can promote your app within Android Actions. You can think of Slices as UI templates that surface rich, interactive content from an app within the Google Search app and the Google Assistant. Slices can be built out as an enhancement to Android App Actions, and can help bolster app engagement outside of the full-screen app experience.
So how does this work in practice?
Let’s say an Android user searches for “Taylor Swift” from within the Google Search App or Google Assistant, and the results match a list of action keywords provided by Spotify’s mobile team. In this instance, an option bar appears that includes an action item to open the Taylor Swift artist page in the Spotify app.
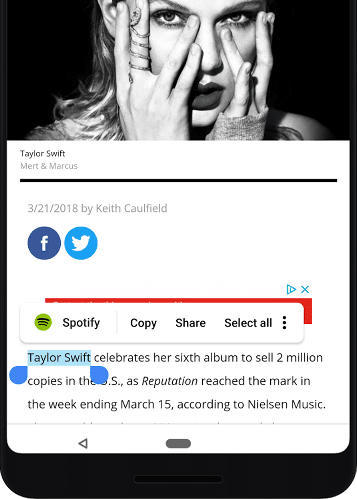
This is a great way to surface content in a contextual way, allowing users to interact with a general topic more specifically through the app of their choosing.
The coolest parts for developers:
- Branding: Slices allow you to create a dynamic, flexible UI that showcases your app’s content in the right colors and styles to keep your brand consistent
- Interaction: You can deep link to your app from Slices, or allow users to update data, take inline actions, scroll or toggle the UI component.
But there’s a catch.
How to Deep Link and Attribute with Android Slices
While Android Slices offer a seamless experience from search to app, it doesn’t give you the ability to measure that performance.
Right now, the attribution capabilities that accompany Android slices are non-existent, which makes it hard to know how this feature is impacting your user journey, installs, and conversions.
So how can you leverage Android Actions and Slices to drive interest in your app — and accurately attribute its performance?
We’ve got you covered.
Integrating Branch links into Android Slices enables you to seamlessly route users directly into your native app, ensuring a high-quality user experience that’s measurable and attributable.
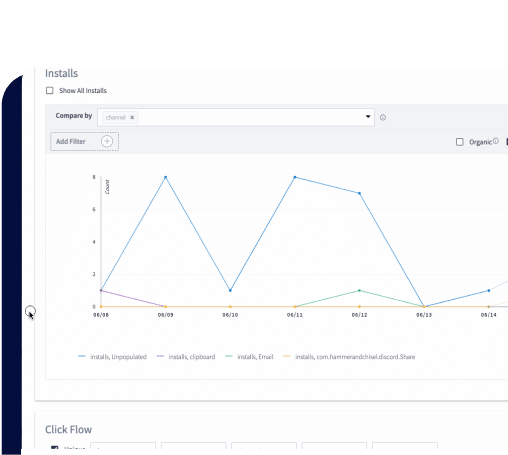
Even better, Branch gives you visibility into the performance of your Android Slices—and the effect they have on downstream funnel events like acquisition and conversion—by bridging the gap between any Android channel and your native app.
Ready to implement Branch links into Android Slices? First, you’ll need the prerequisites for deep linking and cross-platform attribution with Android Slices: Android KitKat version 4.4, API 19, SDK 28 (the earliest version of Android that supports Slices), integration of the Branch Android SDK, and deep link routing.
Once you have all of those prerequisites in place, it’s time to build an Android Slice.
How to Build an Android Slice
1) Implement Your Slice Provider
Note: Android Studio 3.2 already comes with bundled tools for Slice development, but not required.
To build a Slice in Android Studio 3.2, open your Android Studio project, right-click your src package, and select New… > Other > Slice Provider. You can do this manually if you don’t use Android Studio 3.2.
androidx.slice:slice-builders:(latest version) will be added to your gradle dependencies:
dependencies {
// ...
    implementation "androidx.slice:slice-builders:(latest version)"
// ...
}
A new SliceProvider will be added to your AndroidManifest.xml:
<manifest xmlns_android="https://schemas.android.com/apk/res/android"
    package="com.example.android.app">
    ...
    <application>
        ...
        <provider android_name="MySliceProvider"
            android_authorities="com.example.android.app"
            android_exported="true" >
            <intent-filter>
                <action android_name="android.intent.action.VIEW" />
                <category android_name="android.app.slice.category.SLICE" />
            </intent-filter>
        </provider>
        ...
    </application>

</manifest>
A new SliceProvider class will be generated. The SliceProvider class looks like this:
public class MySliceProvider extends SliceProvider {
    private Context context;
    private static int sReqCode = 0;

    /**
     * Instantiate any required objects. Return true if the provider was successfully created,
     * false otherwise.
     */
    @Override
    public boolean onCreateSliceProvider() {
        …..
    }

    /**
     * Converts URL to content URI (i.e. content://com.example.alopez.sliceplainexample...)
     */
    @Override
    @NonNull
    public Uri onMapIntentToUri(@Nullable Intent intent) {
          …..
    }

    /**
     * Construct the Slice and bind data if available.
     */
    public Slice onBindSlice(Uri sliceUri) {
….
    }
2) Build Your Slice
When building your Android Slice, the first step is to build your Slice provider to feed the content to a Slice viewer.
public Slice onBindSlice(Uri sliceUri) {
   Context context = getContext();
   if (context == null) {
       return null;
   }
   if (sliceUri.getPath().equals("/")) {
       return createDeepLinkCTASlice(sliceUri);
   } else {
       // Error: Path not found.
       return new ListBuilder(context, sliceUri, ListBuilder.INFINITY)
               .addRow(new RowBuilder(context, sliceUri).setTitle("URI not found."))
               .build();
   }
}
Branch will read the deep link with your intent like so from the “extra” data. These parameters are required:
- “branch” – > your deep link
- “Branch_force_new_session” -> true
Intent intent = new Intent(getContext(), MainActivity.class);
       intent.putExtra("branch","https://branchster.app.link/2rcrzHk7AP"); <<<<< BRANCH DEEP LINK
       intent.putExtra("branch_force_new_session",true);
We will trigger the Branch deep link via an intent, by passing it in under the key “branch” in the intent data in our helper method, “createDeepLinkCTASlice”.
  public Slice createDeepLinkCTASlice(Uri sliceUri) {
      if (getContext() == null) {
          return null;
      }
      // Construct our parent builder
      ListBuilder listBuilder = new ListBuilder(context, sliceUri);

      // Construct the builder for the row
      ListBuilder.RowBuilder row = new ListBuilder.RowBuilder(listBuilder);

      // Set title
      r.setTitle("Visit my monstater!");

// Set “branch” & “branch_force_new_session=true”
      Intent intent = new Intent(getContext(), MainActivity.class);
      intent.putExtra("branch","https://branchster.app.link/2rcrzHk7AP");
      intent.putExtra("branch_force_new_session",true);

      SliceAction button = new SliceAction(
              PendingIntent.getActivity(
                      getContext(),
                      0,
                      intent,
                      0
              ),
              IconCompat.createWithResource(getContext(), R.drawable.ic_launcher_background),
              ListBuilder.ICON_IMAGE,
              "Enter app"
      );


      // Add the actions to appear at the end of the row
      row.addEndItem(button);

      // Set the primary action; this will activate when the row is tapped
      row.setPrimaryAction(button);

      // Add the row to the parent builder
      listBuilder.addRow(row);

      // Build the slice
      return listBuilder.build();
  }
Since slices are built on URI paths, you can bind of virtually any URI path. For simplicity, we are binding on “/”.
3) Create Deep Links for Android Slices
Leveraging Branch’s Quick Links enables the deep linking and attribution capabilities that will make Android Slices work harder for your app. The process is simple:
- Sign up for the Branch Dashboard
- Click on Quick Links
- Build a link and campaign for the Android Slice
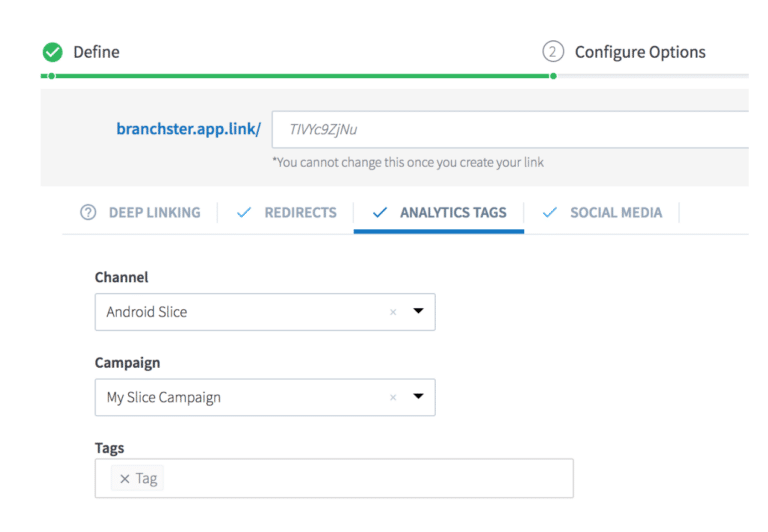
- Incorporate your Quick Link into your Android Slice
4) Test with Slice Viewer
- Your Branch deep link router should work just as if a link was clicked on from any other channel.
- Ensure the correct deep link is behind your Slice Provider intent in Step 2
Intent intent = new Intent(getContext(), MainActivity.class);
intent.putExtra("branch","https://branchster.app.link/2rcrzHk7AP"); <<<<< BRANCH DEEP LINK
intent.putExtra("branch_force_new_session",true);
- Run your slice viewer
adb shell am start -a android.intent.action.VIEW -d slice-content://com.example.branch.sliceplainexample/
- Click on it
- Deep link!
Ready to find out more about how Branch can help you master deep linking across devices, channels and platforms? Reach out today to request a demo from our sales team.