This was originally posted on July 20th, 2015 but has since been updated with the latest information.
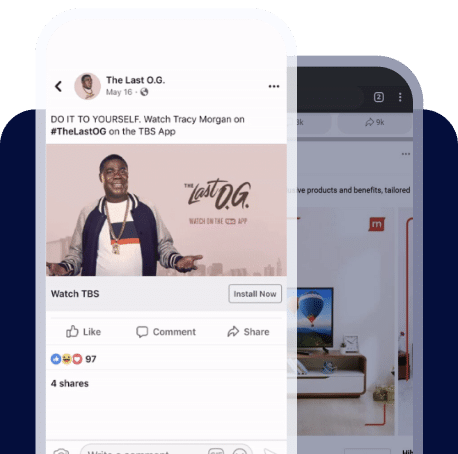
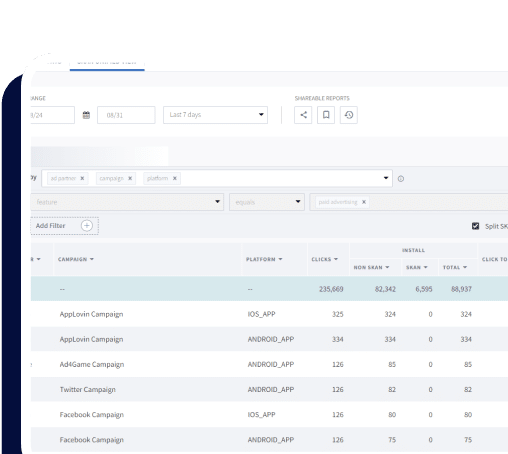
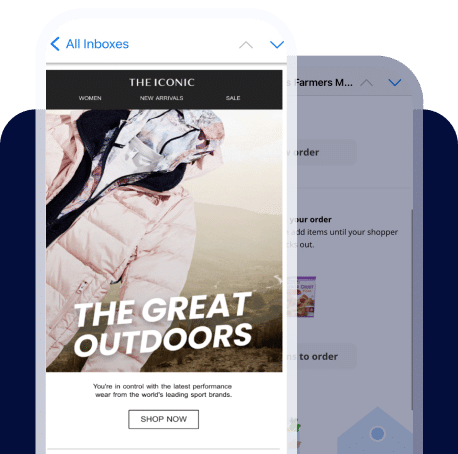
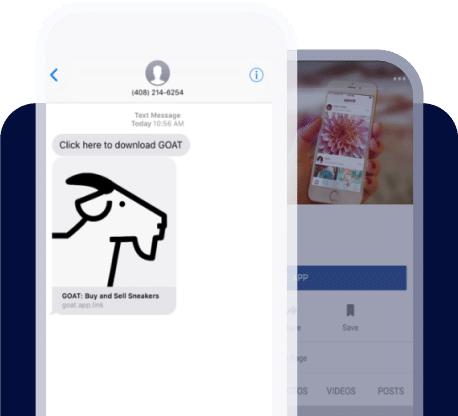
At Branch, we eat, breathe and sleep mobile deep linking. We created a single link that you can use everywhere: every platform, every device and every app store to drive users to your app. It’s a single link, fully configured to link to your app off of every channel (Facebook, Twitter, Gmail, etc) and be listed in every search portal (Firebase App Indexing, Bing search, Apple Spotlight).
It just works. In fact, we’ve already written blog posts about How to Set Up Google App Indexing and How to Deep Link on Facebook, check them out.
When Apple announced “Universal Links” in its WWDC pitch back in 2015, we were excited to incorporate it into the Branch deep linking platform. Little did we know how complicated it would be to get it working, so we thought we’d share a guide on how to do it in order to save everyone else.
How Do Universal Links Work in iOS?
Before Universal Links, the primary mechanism to open up an app when it was installed was by trying to redirect to an app’s URI scheme in Safari. This put the routing logic in Safari, but there was no way to check if the app was installed or not. This meant that developers would try to call the URI scheme 100% of the time, in the off chance that the app was installed, then fallback gracefully to the App Store when not by using a timer.
Universal Links were intended to fix this. Instead of opening up Safari first when a link is clicked, iOS will check if a Universal Link has been registered for the domain associated with the link, then check if the corresponding app is installed. If the app is currently installed, it will be opened. If it’s not, Safari will open and the http(s):// link will load.
Functionally, it allows you to have a single link that will either open your app or open your mobile site.
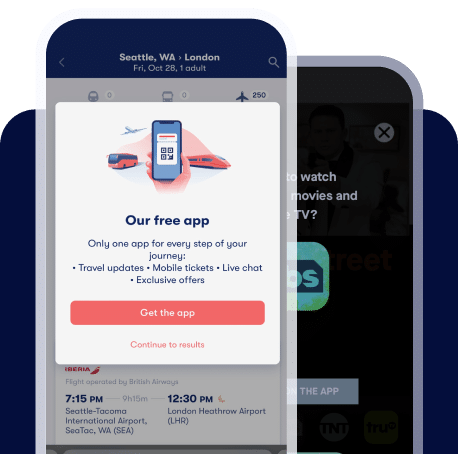
Branch’s deep links support Universal Links, but also offer capabilities that Universal Links don’t. For example, when a user who doesn’t have an app installed clicks on a Branch link, they’ll be redirected to the App Store, where they can download the app in question. After they do, they’ll be taken to the exact link they had clicked, in the app. This process is called deferred deep linking.
How Have Things Changed in iOS 15?
With the introduction of iOS 15, Apple has unveiled a new feature called Private Relay. Private Relay works to mask iCloud+ subscribers’ IP addresses, which are often used to bridge the gap through the App Store. This makes deferred deep linking through install more difficult on iOS.
Branch has an innovative solution for this with our NativeLink™ technology, which eliminates the need for IP addresses – or any other sort of personally identifiable data — during the deferred deep linking process. NativeLink works by copying the initial destination to the user’s clipboard, and once the app is installed, NativeLink pastes the URL and brings the user directly to the content to which they were initially headed. Therefore, brands that leverage NativeLink are able to provide a seamless user experience even with the launch of Private Relay.
Click here to learn how to start implementing NativeLink, and check out our video to learn how NativeLink works.
Universal Link Integration Guide
Here are the high-level steps to get Universal Links working for your app:
1. Configure your app to register approved domains
- Register your app at developer.apple.com.
- Enable Associated Domains on your app identifier.
- Enable Associated Domains on your Xcode project.
- Add the proper domain entitlement.
- Make sure the entitlements file is included at build.
If you use Branch, you can stop here. Otherwise, continue to section two.
2. Configure your website to host the apple-app-site-association file
- Buy a domain name or pick from your existing.
- Acquire SSL certification for the domain name.
- Create structured
apple-app-site-associationJSON file. - Sign the JSON file with the SSL certification.
- Configure the file server.
If you use the Branch hosted deep links, we’ll save you all of the complexity of creating SSL certs and signing and hosting your server’s JSON file, so you only need to modify your app’s code to leverage it. We’ll introduce this at the bottom of the post.
Note: We’ve also built a tool to check if your apple-app-site-association file is configured properly.
Section 1: Configuring your app entitlements
Note: newer versions of Xcode can typically handle entitlement provisioning for you automatically. You can most likely skip to the Enable Associated Domains in your Xcode project section below, and refer back to these instructions only if you encounter problems.
In order to register your Xcode project for Universal Links, you need to create an App ID in the Apple developer portal and enable the proper entitlements. This is very similar to the configuration required for in-app purchases.
You cannot use a wildcard app identifier for Universal Links.
Register your app on developers.apple.com
First, head to developer.apple.com and log in. Then click on Certificates, Identifiers & Profiles, and then click on Identifiers.


If you don’t have a registered App Identifier already, you’ll need to create one by clicking the + sign. If you do have one, skip ahead to the next section.
You need to fill out two fields here: name and bundle ID. For name, you basically enter whatever you want. For bundle ID, you’ll fill in the value of the bundle
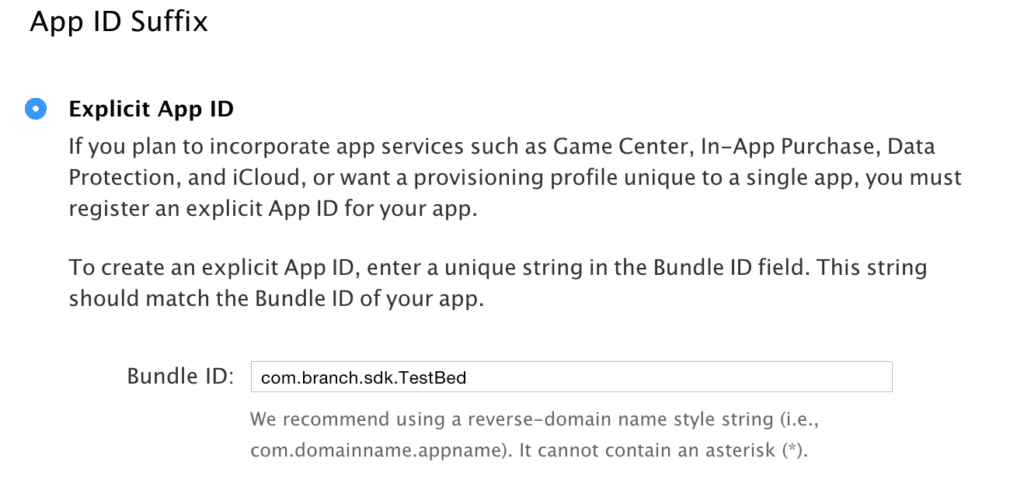
You can retrieve this by looking at the General tab of your Xcode project for the proper build target.

Enable Associated Domains in your app identifier on developers.apple.com
For your pre-existing or work-in-progress App Identifier, scroll down to the last section and check the Associated Domains services.
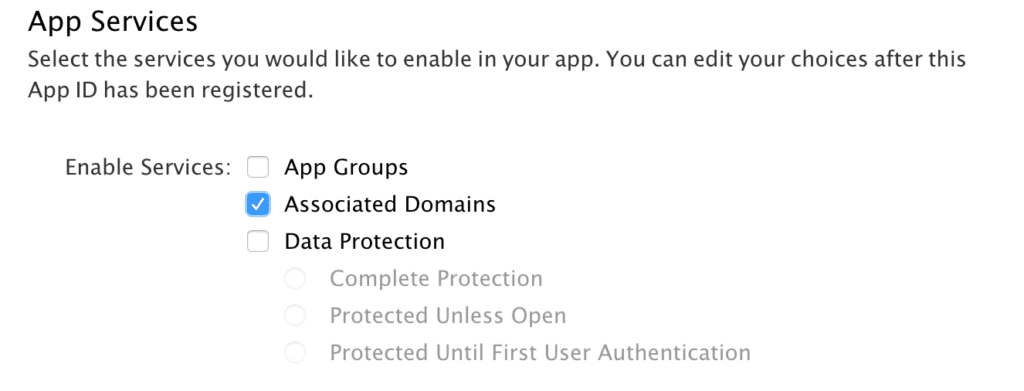
Scroll down and click Save.
Enable Associated Domains in your Xcode project
Now, you’ll want to enable the Associated Domains entitlement within your Xcode project. First, make sure that your Xcode project has the same Team selected as where you just registered your App Identifier. Then go to the Capabilities tab of your project file.

Scroll down and enable Associated Domains so that the accordion expands.
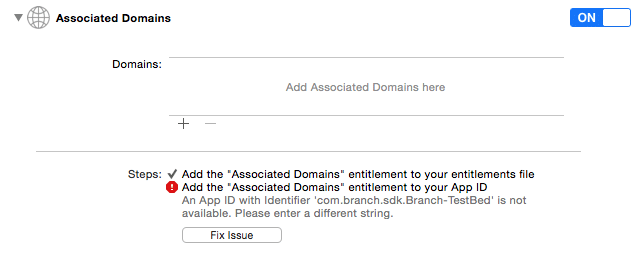
If you see an error like this, check:
- That you have the right team selected.
- Your Bundle Identifier of your Xcode project matches the one used to register the App Identifier.
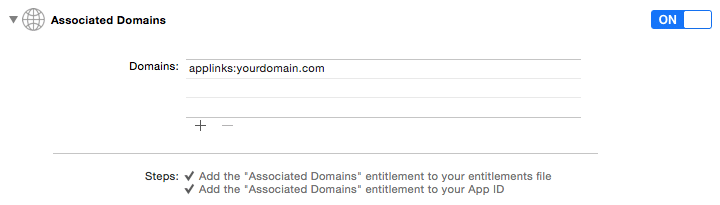
Add the domain entitlement
In the domains section, add the appropriate domain tag. You must prefix it with applinks:. In this case, you can see we added applinks:yourdomain.com.
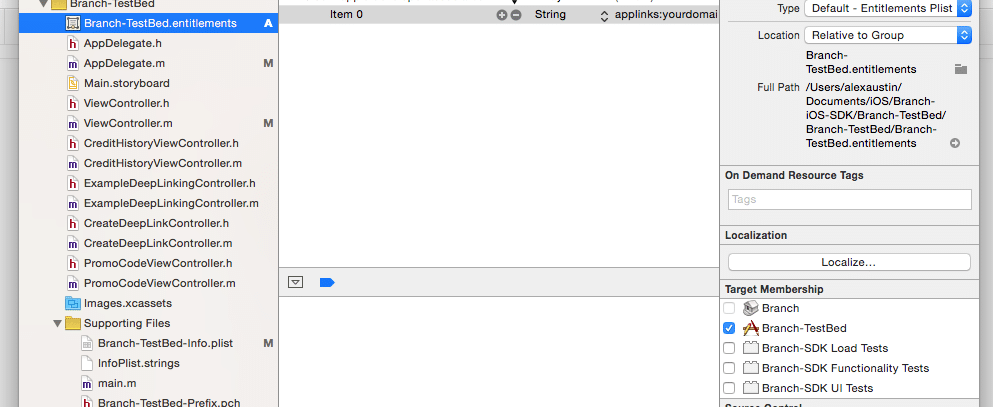
Make sure the entitlements file is included at build
Lastly, for some reason, Xcode 7 did not include my entitlements file in my build. In the project browser, make sure that your new entitlements file is selected for membership to the right targets so that it’s built.
If you use Branch links, you can stop here! If not, keep reading to learn more, or request a Branch demo.
If you want to save yourself hours of headache, you can avoid all the JSON hosting and SSL cert work and just use Branch links to host it for you. However, if you’re a control freak and glutton for punishment, by all means continue.
Section 2: Configuring your apple-app-site-association file
Universal Links turn your website URL into an app link, so you need be running a web server in order to leverage them. To help with this process, use our Universal Links Validator to check if your apple-app-site-association file is configured properly.
Pick a domain
First, identify the domain that you’d like to use for your Universal Links. You can register a new one or use an existing. If registering a new one, we prefer to use a clean, non-spammy registrar like gandi.net.
Acquire SSL certification
You need to acquire SSL certification files for the domain you’ll use to host the Universal Links. In order to do this, you’ll need to use a third party service to register your domain for SSL, and create the files you need. After looking around, we’ve chosen Digicert to handle branch.io and associated subdomains.
Here are the steps to create your SSL certification:
- Visit https://www.digicert.com/easy-csr/openssl.htm and fill out the form at the top to generate an openSSL command. Keep this window open.
- Log into your remote server.
- Execute the openSSL command to generate a certificate signing request (.csr) and certification file (.cert).
- Pay for your SSL certification at https://www.digicert.com/.
- Wait for Digicert to approve and send you the final files.
- In the end, move yourdomain.com.cert, yourdomain.com.key and digicertintermediate.cert into the same directory on your remote server.
Create your apple-app-site-association JSON
There is a pretty standard structure of this JSON file, so you can basically just copy this version and edit it to fit your needs. I’ll break down where to get the correct values below.
{
  "applinks": {
    "apps": [],
    "details": [
      {
        "appID": "T5TQ36Q2SQ.com.branch.sdk.TestBed",
        "paths": ["*"]
      }
    ]
  }
}
The only fields you need to change are associated with: T5TQ36Q2SQ.com.branch.sdk.TestBed. This is actually two values joined together with a period. Both values are found on developers.apple.com in the Identifiers -> App IDs section. Just click on the corresponding registered App ID as shown below.
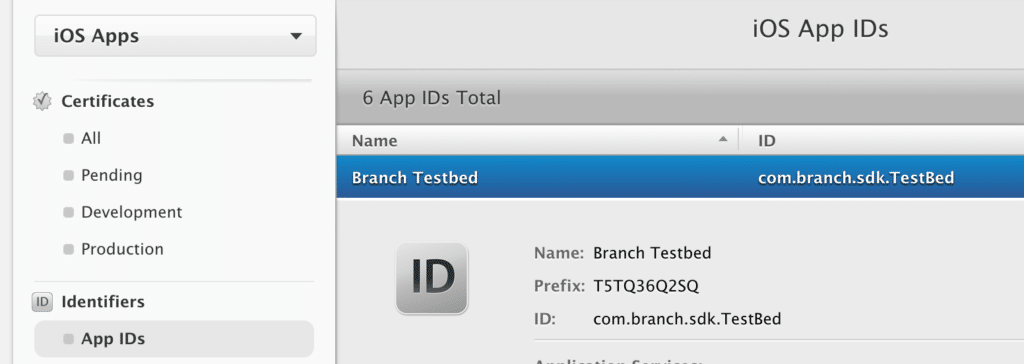
In this example, connect the Prefix and the ID together with a period so that it looks like so: T5TQ36Q2SQ.com.branch.sdk.TestBed.
Save this JSON file as apple-app-site-association-unsigned.
Sign the JSON file with your SSL certificates
Note: if you have certified your domain as HTTPS, you can skip this step and send the JSON in plaintext, as explained in Apple’s updated requirements:
If your app runs in iOS 9 or later and you use HTTPS to serve the apple-app-site-association file, you can create a plain text file that uses the application/json MIME type and you don’t need to sign it. If you support Handoff and Shared Web Credentials in iOS 8, you still need to sign the file as described in Shared Web Credentials Reference.
All apple-app-site-association files on the Branch platform are now served as unsigned application/json.
Upload the apple-app-site-association-unsigned file to your server into the same directory as the certification and key files from the previous steps. Using the command line, change directory into that folder and issue the following command:
cat apple-app-site-association-unsigned | openssl smime -sign -inkey yourdomain.com.key -signer yourdomain.com.cert -certfile digicertintermediate.cert -noattr -nodetach -outform DER > apple-app-site-association
This will generate the file apple-app-site-association.
Configure your file server
Alright! So you have your signed apple-app-site-association file. Now you just need to configure your file server to host this for you. There are a few caveats:
- It must be sent with the header
application/pkcs7-mime(orapplication/json, as noted above). - It must be sent from the endpoint youdomain.com/apple-app-site-association, and/or youdomain.com/.well-known/apple-app-site-association.
- It must return a 200 http code.
We set up the one for all Branch integrated apps using our Node+Express link servers. Here’s the code we used, in case that’s helpful:
var aasa = fs.readFileSync(__dirname + '/static/apple-app-site-association');
app.get('/apple-app-site-association', function(req, res, next) {
     res.set('Content-Type', 'application/json');
     res.status(200).send(aasa);
});
Branch and Universal Links Integration Guide
Again, as a reminder, you can avoid all the JSON hosting and SSL cert work and just use Branch. Happy Linking!