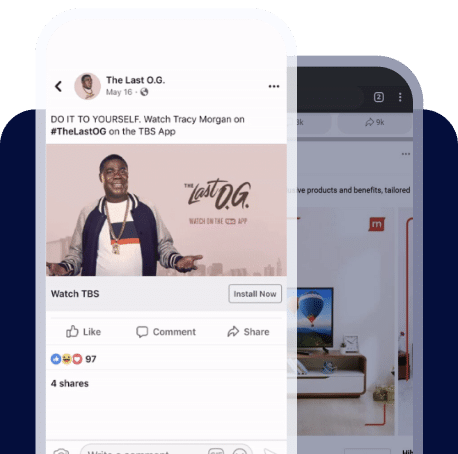

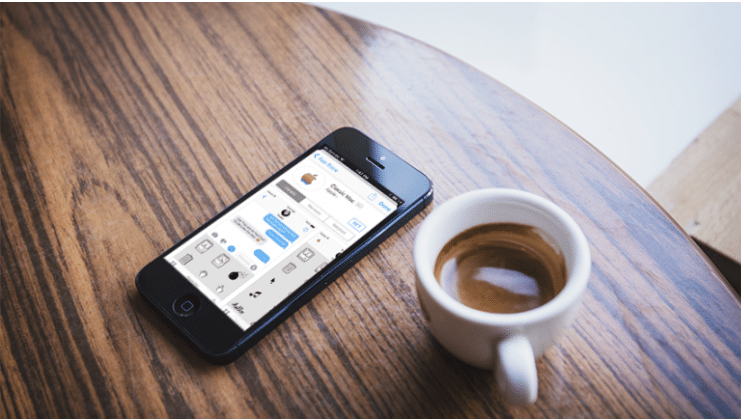
iOS 10 introduces some powerful new functionality on top of the iOS 9 extension system that gave birth to custom keyboards and ad blockers. iOS 10 features a new App Store that lets user install apps directly into iMessage, the homegrown messaging platform baked into the iOS platform.

You’re likely aware of this and already building for this new platform, so let’s get down to business.
Getting someone to install your iMessage app is a different user pathway than getting your traditional iOS app installed, and you’re going to need to market it quite differently. Branch links and the iOS SDK are already built to support your iMessage app, and will help you get started the minute iOS 10 is released September 13th.
We recommend that you create a new, separate Branch app for your iMessage app than for your main App Store app, since you’ll want to market and track performance of these differently.
Creating Tracking Links for iMessage Apps
The new App Store is baked directly into iOS 10 iMessage. The same app will also be visible in the main iOS App Store, but with a warning that it’s “only for iMessage.”
Once you start promoting your new app, you’re going to want to link to the iMessage App Store and not the old App Store. The process is very simple. All you need to do is append ?app=messagesto the App Store link that you’re used to.
You can try this on any iOS 10 phone with the links below:
iMessages App Store:
https://itunes.apple.com/us/app/classic-mac/id1127542169?app=messages
Old App Store:
https://itunes.apple.com/us/app/classic-mac/id1127542169
Once you have that concept down, it’s time to configure your Branch links.
Option 1: Configure Branch links to default to iMessage App Store
To configure all of your Branch links to route to the iMessage App Store, you should head to your Branch link settings page, and configure your iOS app like the following:
 To configure your iMessage App in the Branch dashboard:
-
- Uncheck “I have an iOS App”
-
- Disable Universal Links
-
- Paste the App Store URL with?app=messagesappended into the URL field
- Click Save
These settings look very different than your normal iOS app because iMessage apps do not support URI schemes or Universal Links, which is an assumption we’ve built our service on. Very simply, it’s impossible to re-open the app from a link click once it’s installed.
Option 2: Configure individual Branch links to route to iMessage Store
If you’d prefer just to leave your main settings linking to your iOS app in the traditional App Store and want to configure one-off links to point to your iMessage app, it’s even easier. Just head to the quick link page on the Branch dashboard, and Add or Edit your link. Expand the “Custom Redirects” section of the editor and paste in the App Store URL with ?app=messagesappended into the URL field:

Setting Up Download Tracking for Your iMessage App
Now that your Branch links are properly configured, it’s time to add the SDK to start tracking how many iMessage app installs you get. It’s much easier to setup than your standard iOS app since you don’t need to worry about all of the additional deep linking methods.
First thing, you need to add the SDK to your project. We haven’t tested out Cocoapods with the extension, but it probably won’t work. So, we recommend that you pull down the Branch SDK Github repository located here, then add one of the following to your project by dragging and dropping in:
Now that the files are added, you need to initialize the SDK. Find the root view controller handling all of the iMessage lifecycle methods, then do the following:
-
-
- Import Branch at the top
-
- If you added the files, #import “Branch.h”
- If you added the framework, #import <Branch/Branch.h>
-
- Import Branch at the top
-
- Scroll down and find the method didBecomeActiveWithConversation
- Paste the code as shown below, initSessionWithLaunchOptions
-
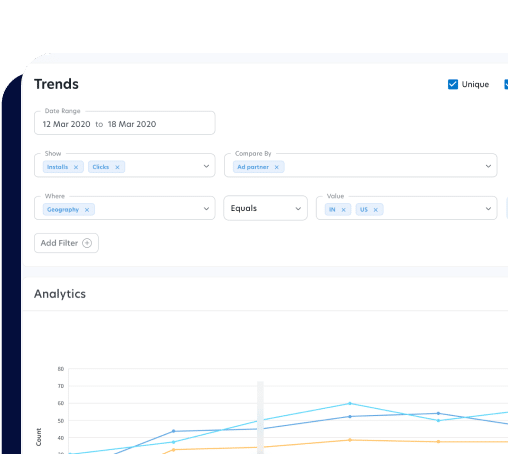
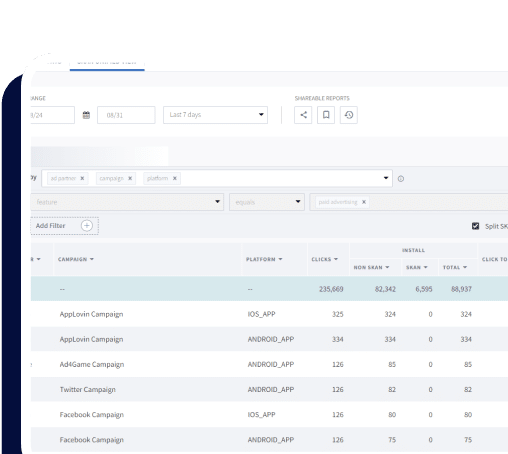
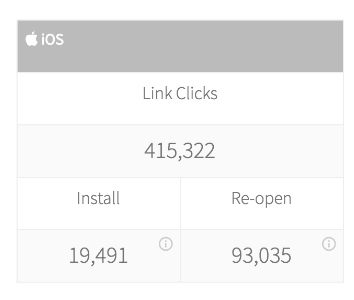
With that, you can successfully click a Branch link, then install the iMessage app. You’ll see clicks, installs and re-opens begin to populate on the dashboard:
Deep Linking and Personalized Onboarding for your iMessage App
To start deep linking through install in your iMessage app, the first thing you’ll need to do is create an actual deep link. With Branch links, it’s incredibly easy. Just add the parameters you care about into the data dictionary of the link when you create it.
Since Apple touts stickers as the killer use case of iMessage apps, let’s say you want to create the following:
-
- User shares a sticker with a friend
-
- The friend clicks the link accompanying the sticker
-
- Friend is routed to your app in the iMessage App Store
-
- Friend installs your app and opens it up
- That friend sees the same sticker the original user shared with them
To recreate this example, we have to assume that you keep a database of stickers stored somewhere and that you reference them with an identifier calledsticker_id. If you wanted to promote the sharing case, you could create links in your app with the Branch Universal Object.
Calling the code above will generate a short URL that you can embed into a message that is then sent to a friend. This link, if configured with the right App Store URL from the section above, will route any user to the new iMessage App Store page.
To personalize the onboarding of your users who install the app from a sticker link that you created above, all you need to do is revisit theinitSessionWithLaunchOptions code you added above, and modify it as follows:
You’ll check for thesticker_id and call some code in your app to load the corresponding sticker that the user clicked on.
It’s that simple! You’ve now got an iMessage app wired for growth, giving users delightful personalized experiences.